COFFEE GEAR FOR YOUR EVERYDAY OUTDOORS OFFICE ADVENTURE HOME CAR
Free Shipping On Orders $45+
Home » Coffee Blog » Airscape® Upcycle Program
Airscape® Upcycle Program
At Planetary Design, we always look for ways to reduce our carbon footprint while giving our customers a unique and exceptional product. Sometimes, our products don’t meet our standards. So, what happens then? Here is our usual process for handling unusable products:
- Strip usable parts to fill customer service requests. This usually includes the inner lids for Airscape®, press assemblies for BruTrek® Travel French Presses and lids for BruTrek® Drinkware.
- Broken-down units are made available for internal use. We use these in various ways (don’t want to spoil the rest of the blog), including having them as a print shop “tester” where our internal branding team uses these units to ensure our customers’ printing and engraving logos look correct.
- Extra units are stored until we find a suitable recycling partner.
- Suitable recycling partners are hard to find for bulk stainless steel, but we take the units to recycle when a good partner is found.
We have decided to upcycle our unusable Airscape® Coffee Canisters and make them available to you! We are making limited Upcycled Airscape® Planters available until we are out. There is also an option to buy untouched upcycled Airscape®’s that you can use however you’d like. In this blog, we will show you how to clean the upcycled Airscape®’s effectively, how to make the upcycled Airscape®’s into planters and some other ways to use your upcycled Airscape®! With that, let’s get into it.
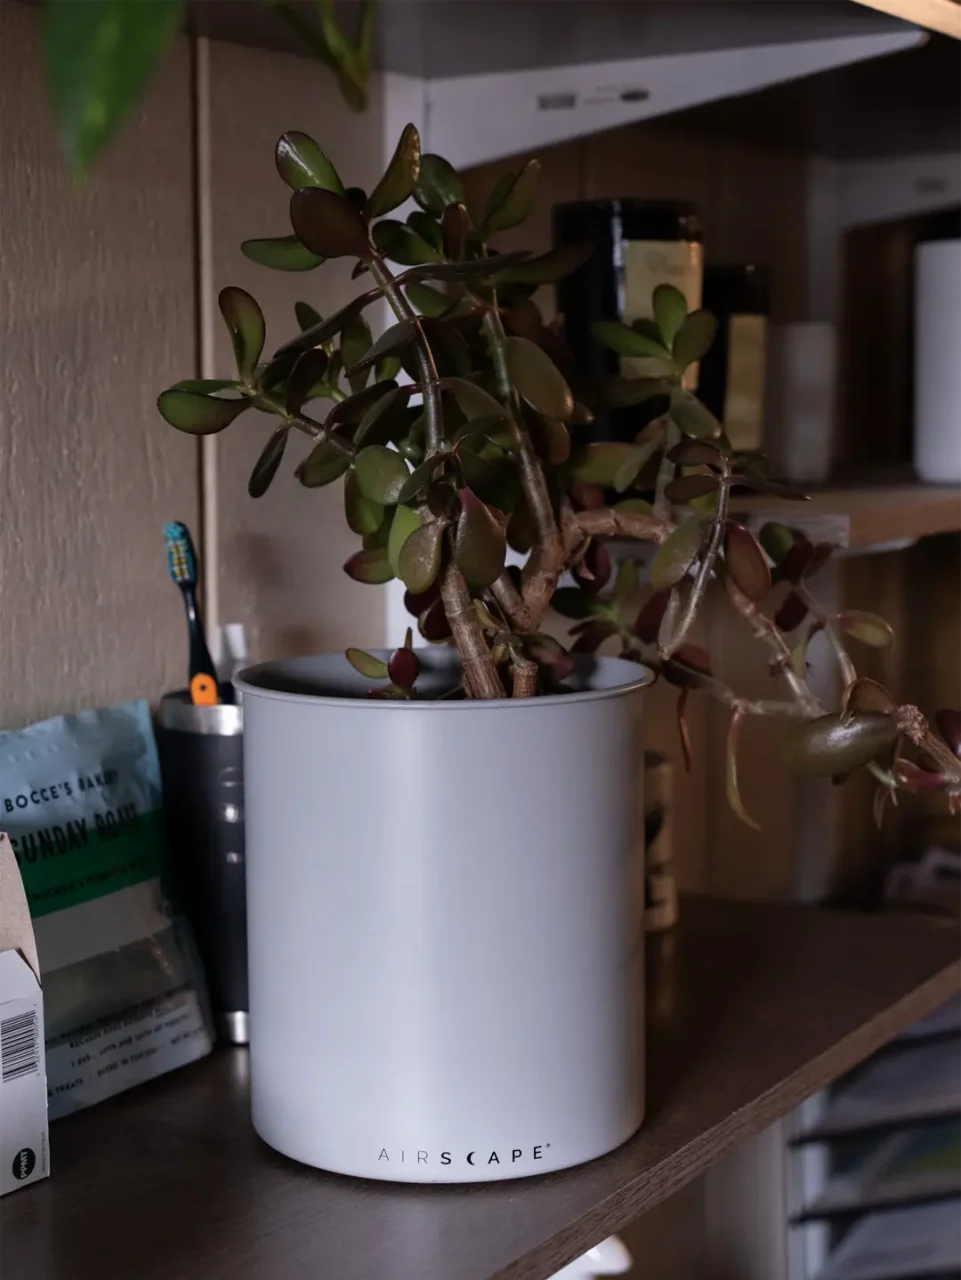
What is Upcycling?
Upcycling is taking an old or unwanted item and transforming it into something new and valuable. It’s a great way to breathe new life into old items and reduce environmental waste. Plus, getting creative and developing new uses for things you would have otherwise thrown away is a lot of fun.
The Airscape® Coffee Canister is a perfect example of a reusable item that can be transformed into something new. These canisters are not only great for keeping your coffee fresh, but they can also be repurposed in various ways. Upcycling Airscape® Coffee Canisters reduces waste and allows you to get creative and add a personal touch to your home or office.
How to Use Your Upcycled Airscape®?
You’ve decided to upcycle your Airscape® Coffee Canister and give it a new lease on life, but what can you do with it? Fear not; we’ve got you covered with some fun and quirky ideas to help you get started!
How to Clean Your Upcycled Airscape®:
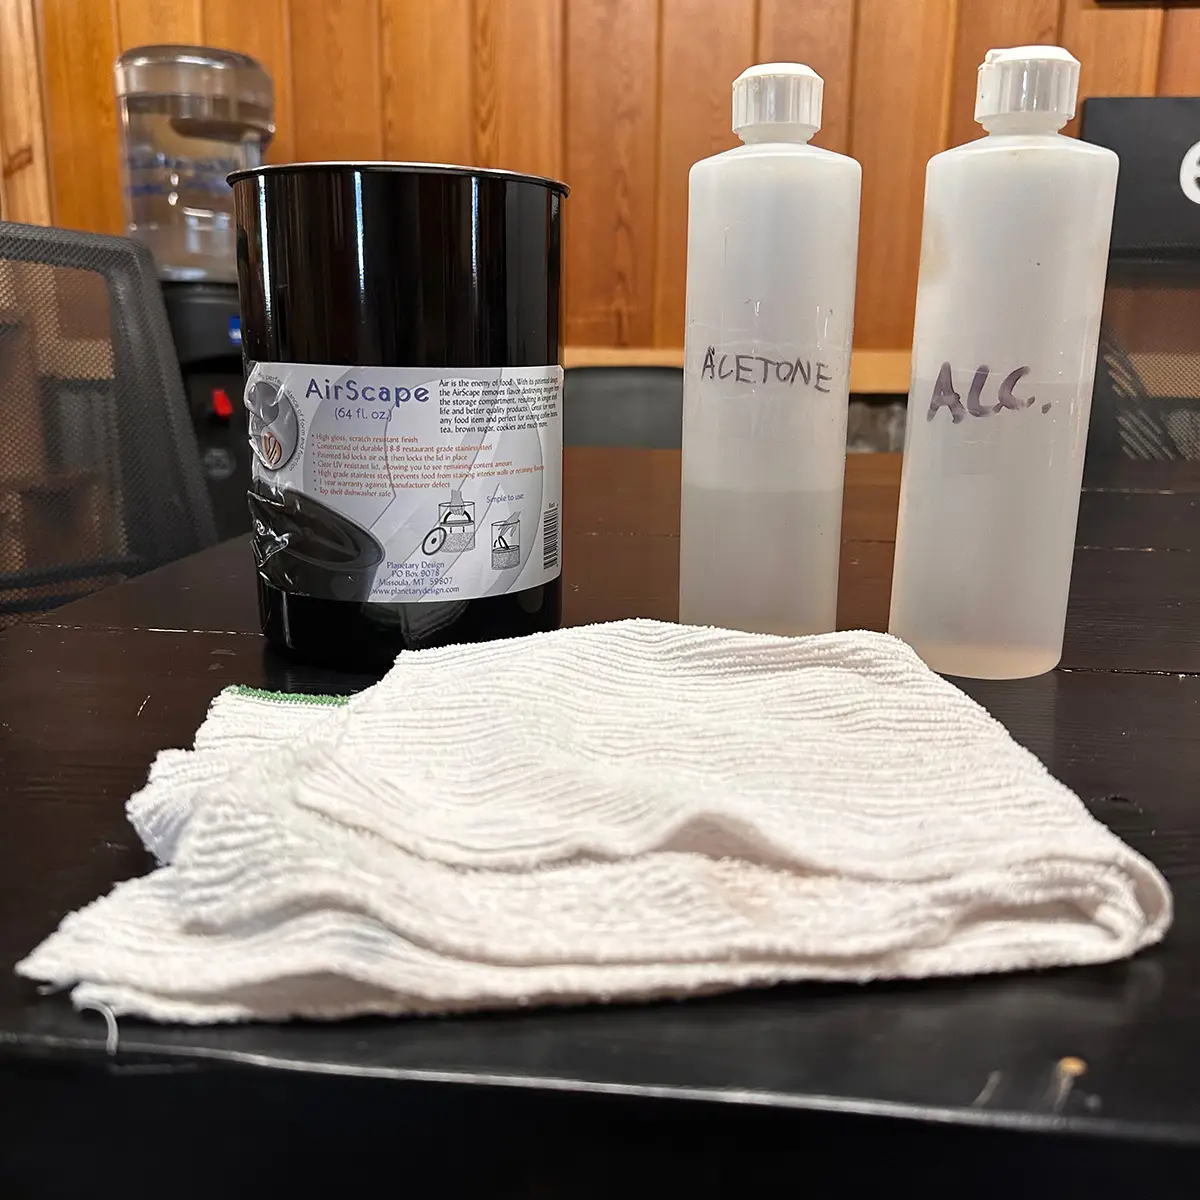
Cleaning Your Upcycled Airscape® can be tricky, but this guide will take a frustrating job and make it an easy 5-minute job! So, What will you need?
- Upcycled Airscape®
- Acetone
- Alcohol Solution
- Cloth Rag
- Gloves
- 5 Minutes of Your Time
Step 1: Peel Label Off Upcycled Airscape®
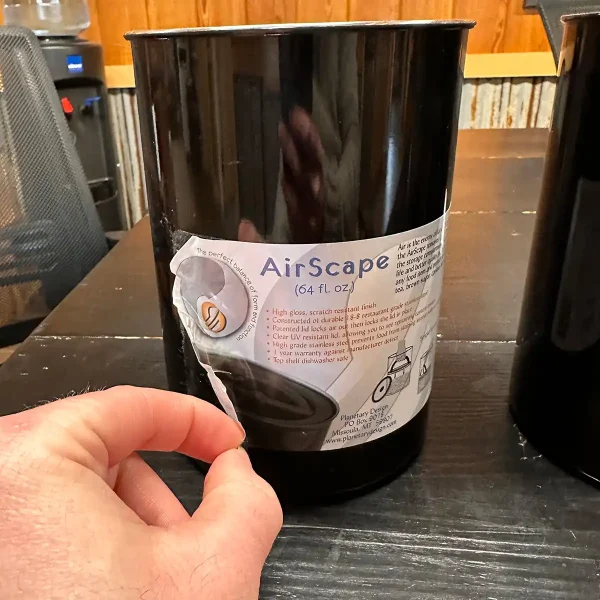
Good News! If your Upcycled Airscape® does not have a label, skip to step 2.
This step is simple. With most* of the upcycled Airscape®’s, there will be an accessible corner for you to pull the label off. Some Pro Tips: Keep a steady pace to pull the label off without ripping.
*If there is no accessible corner to rip the label off or when ripping, not all of the label comes off, use a hair dryer and directly apply the heat to the label. After doing this, it should be much easier to peel the label.
Step 2: Wipe Label Adhesive with Alcohol Solution
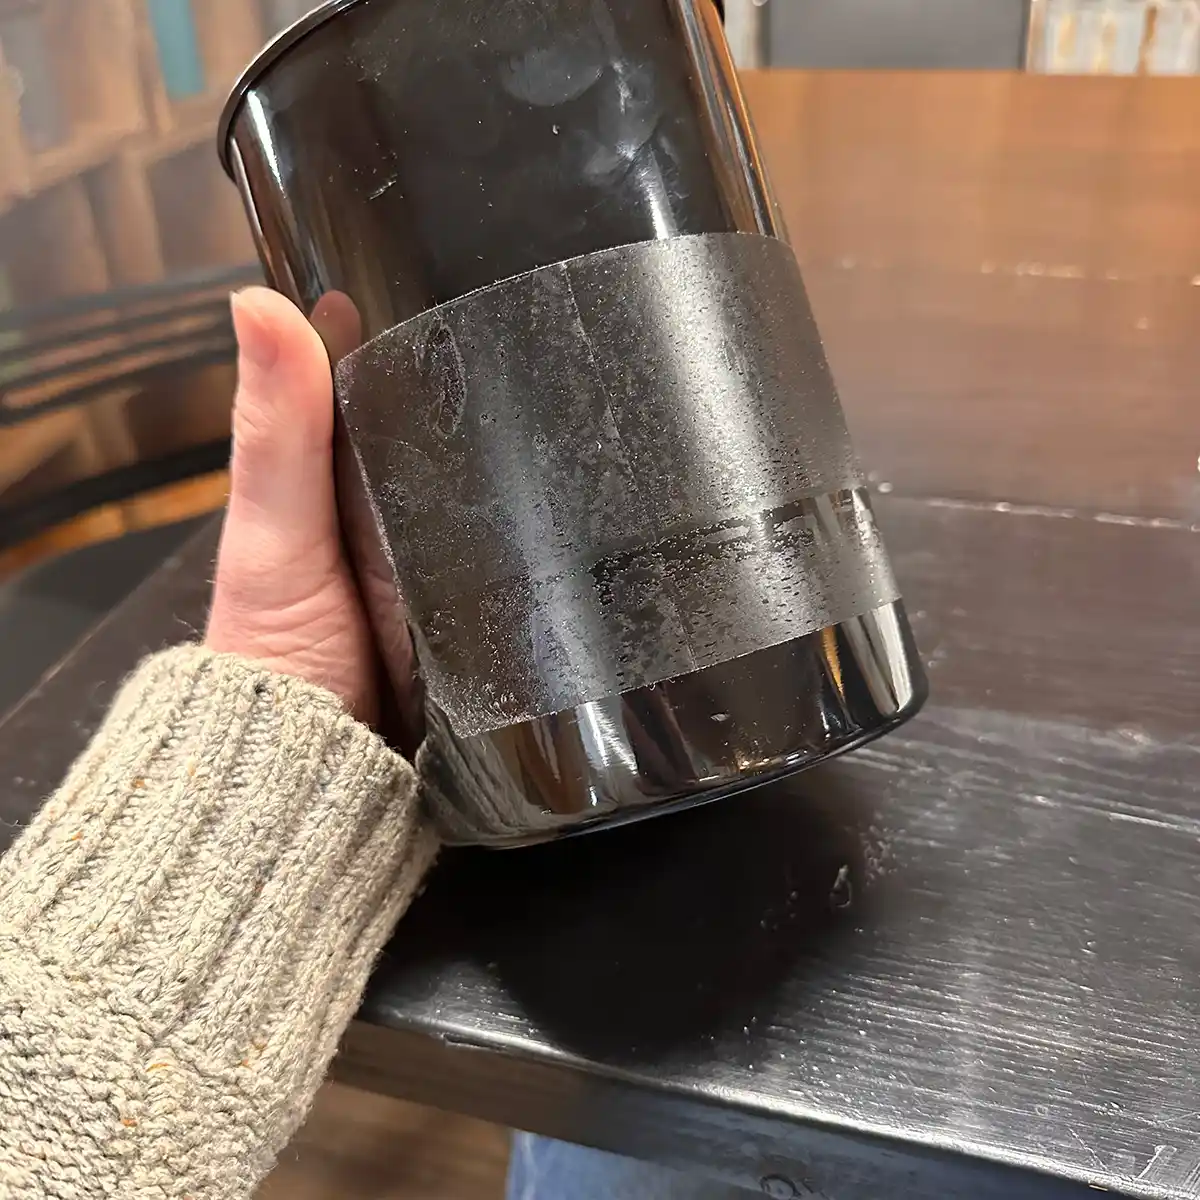
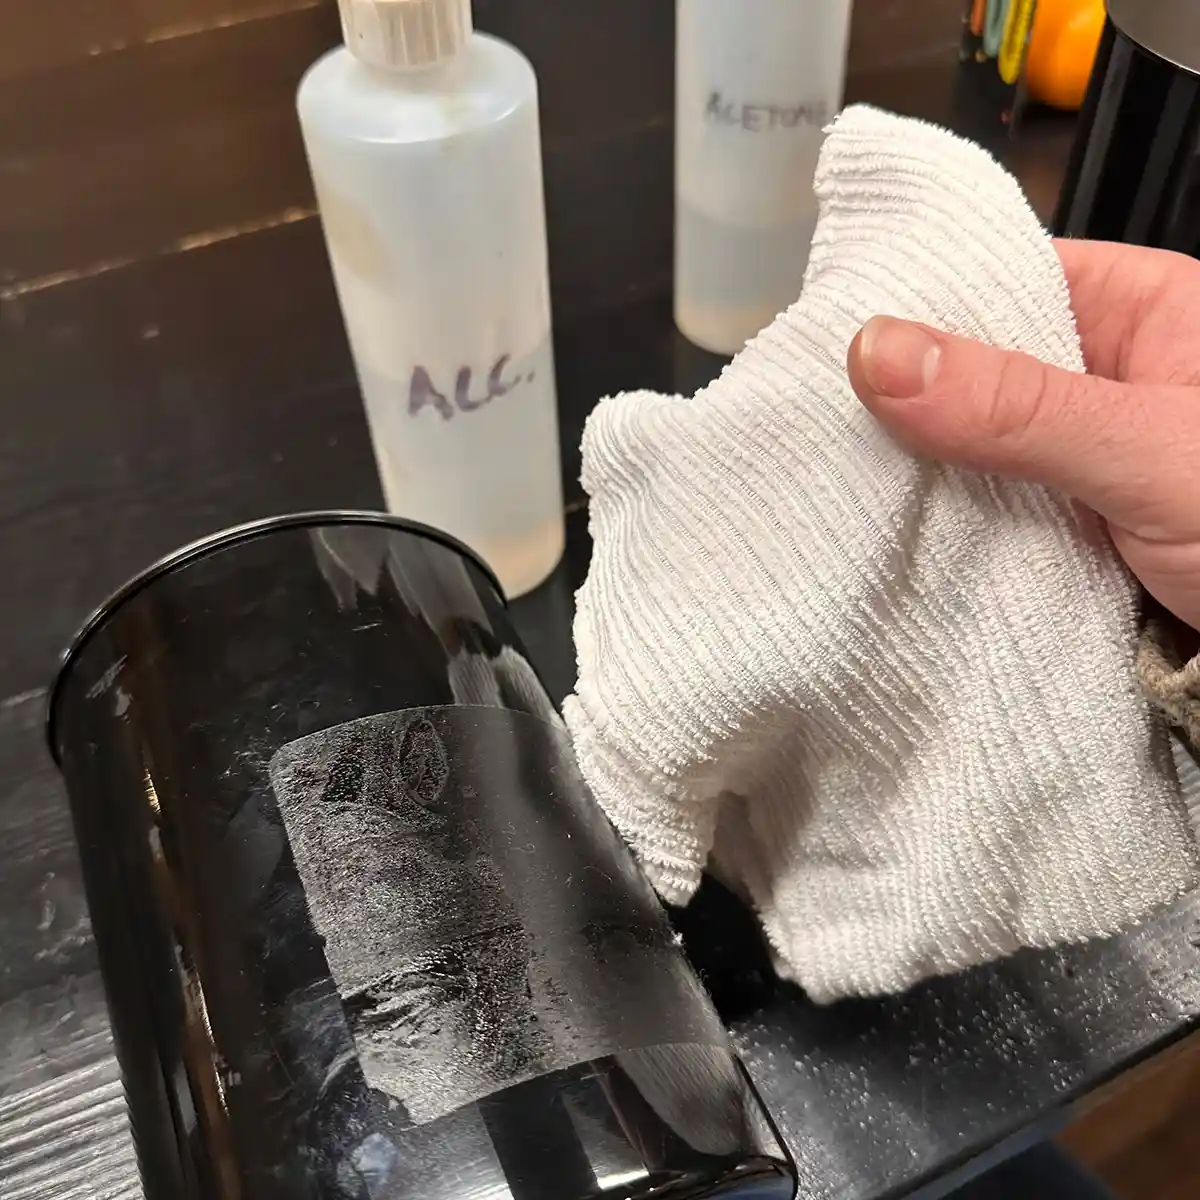
Now it is time for the tricky part. This label adhesive can be quite the bugger, but we have found the best way to remove it.
Ensure you wear gloves throughout the entire process (I know I did a crappy job of this while taking pictures). Pour a small amount of the alcohol solution onto the cloth rag and begin to work the solution into the adhesive. By doing this, you loosen up the adhesive. You may even begin to see some of the adhesive come off the canister.
Step 3: Wipe Acetone onto Label Adhesive
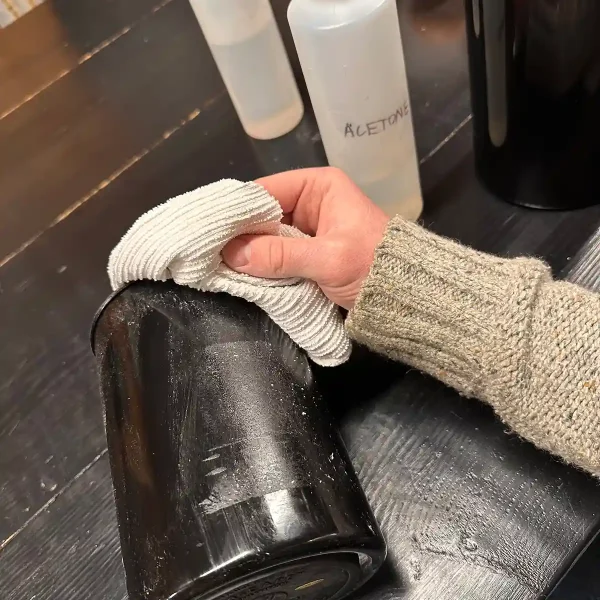
The real key to taking off the adhesive is the acetone. So, pour a small amount of the acetone onto the cloth rag (it is okay if it is the same rag) and rub the rag on the adhesive. Find a system that works best for you from this point. Does the adhesive come off better going up and down? Or maybe side to side? Maybe in a circular motion? Regardless, you will start to see the adhesive come off or start to spread out along the canister. This is normal!
Step 4: Switch Between Alcohol solution and Acetone to Finish Cleaning Process
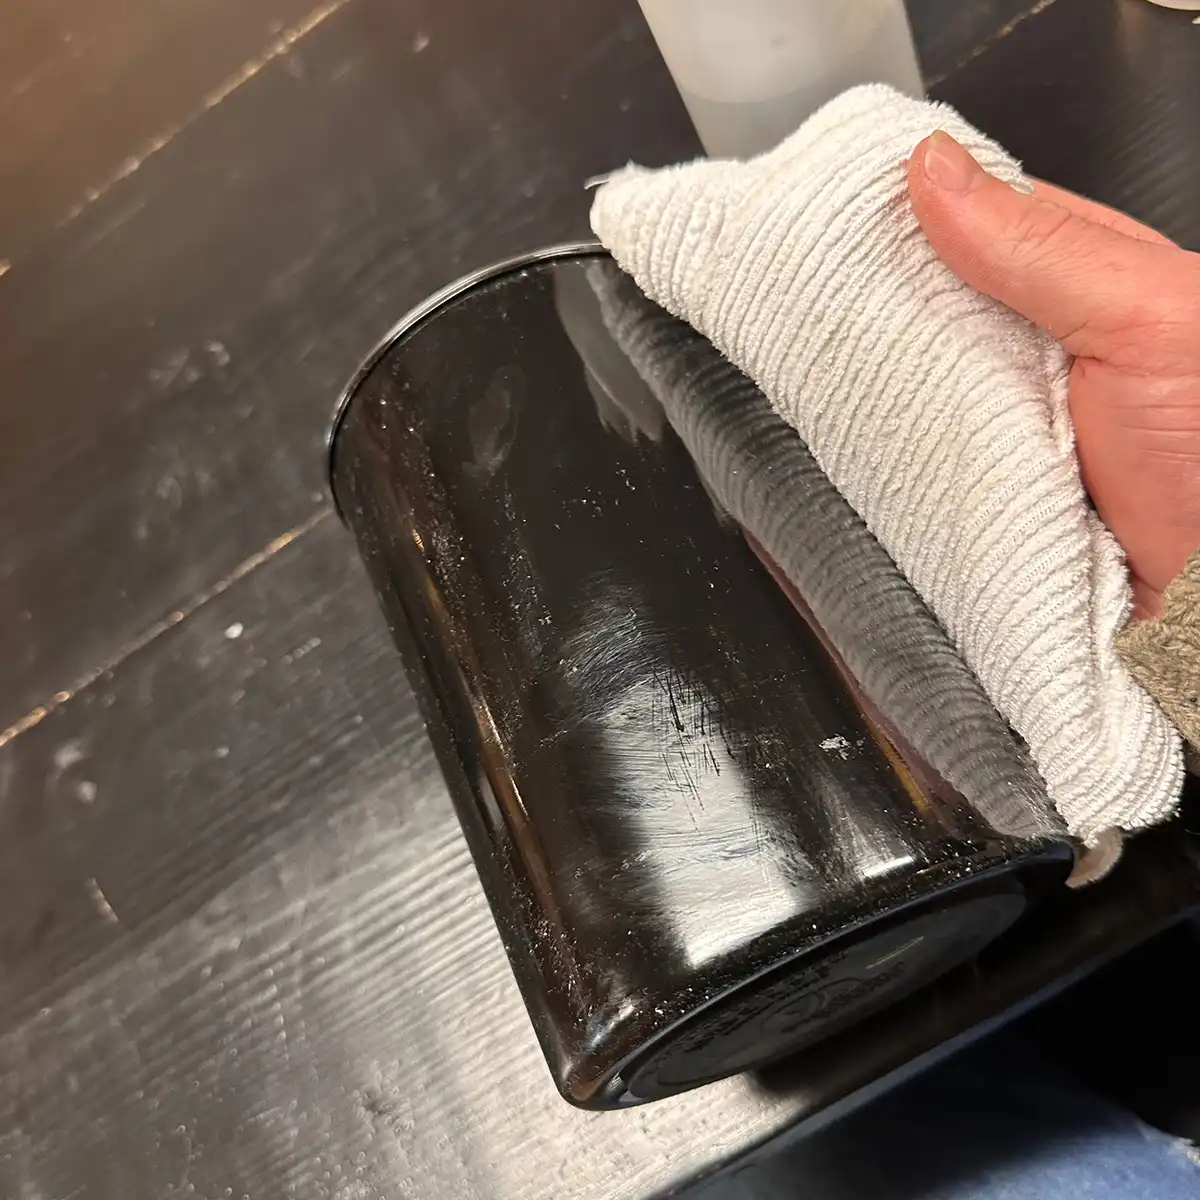
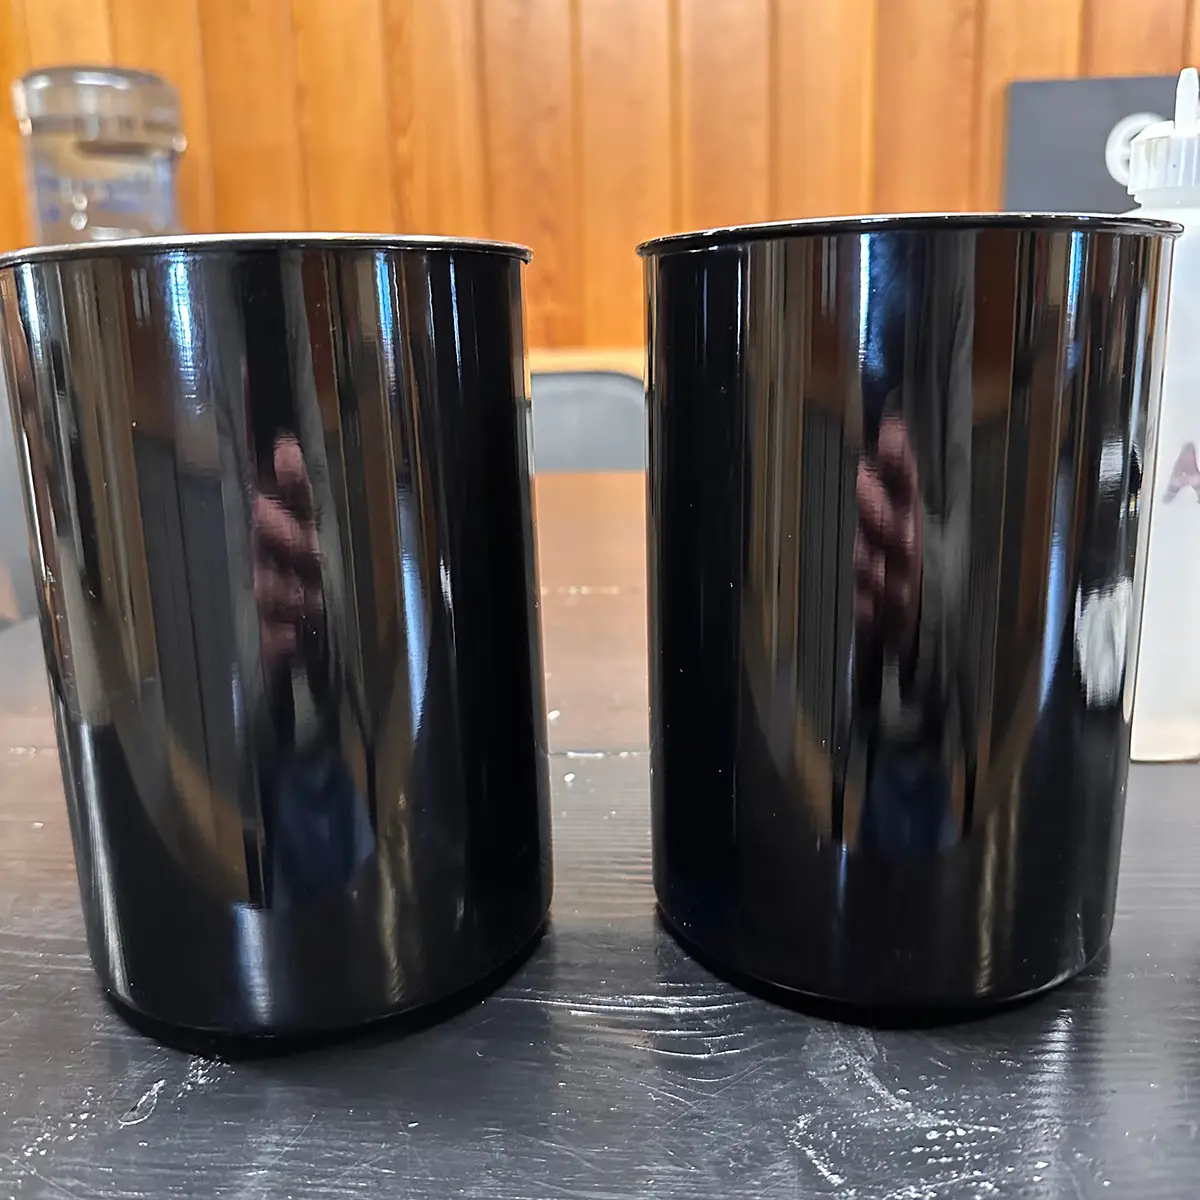
This is a helpful tip to know if you should switch to alcohol from acetone – when the adhesive begins to spread out, it is time to switch to the alcohol solution.
Continue this process until the Upcycled Airscape® is clear of the adhesive. It may take 5-10 minutes.
How to Make the Upcycled Airscape® Planter:
Now that you have finished cleaning your upcycled Airscape®, it is time to make it into whatever you’d like! We gave you some other suggestions for using the upcycled Airscape® earlier in the blog, but now, we will show you how to make your own Upcycled Airscape® Planter!
What you will need:
- Upcycled Airscape®
- Power Drill
- Cobalt Drill Bits – I used ½” for the bottom and 5/16” for the sides
- Dremel or Sander that will Work on Metal
- Twine or String
- A Plant that is ready for a new home!
- Eye Protection
- Gloves
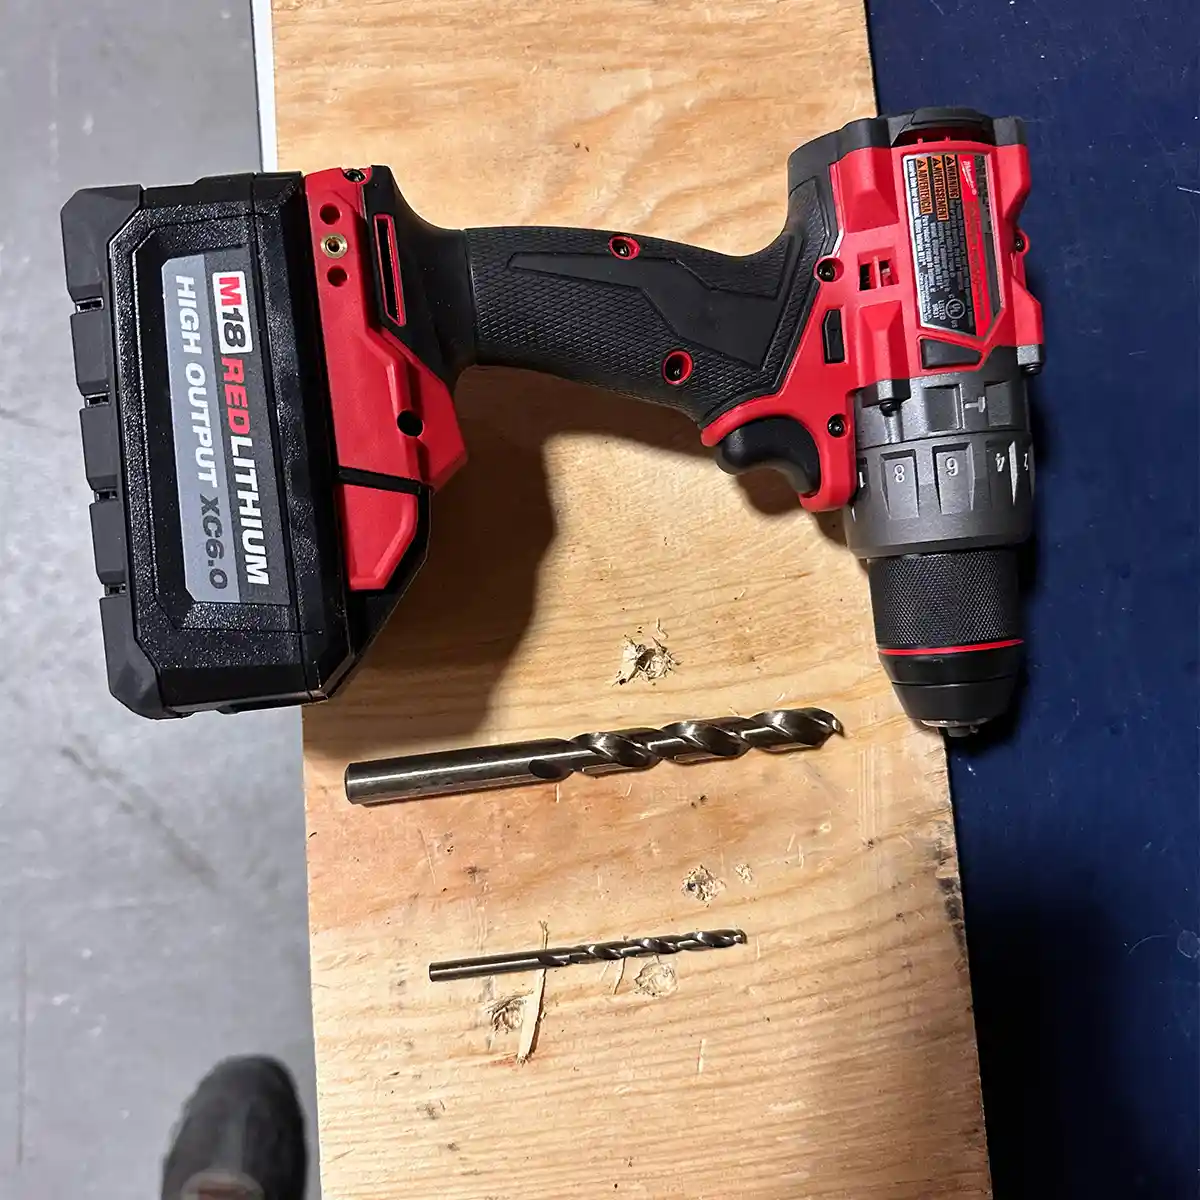
Step 1: Drill Filtration Holes
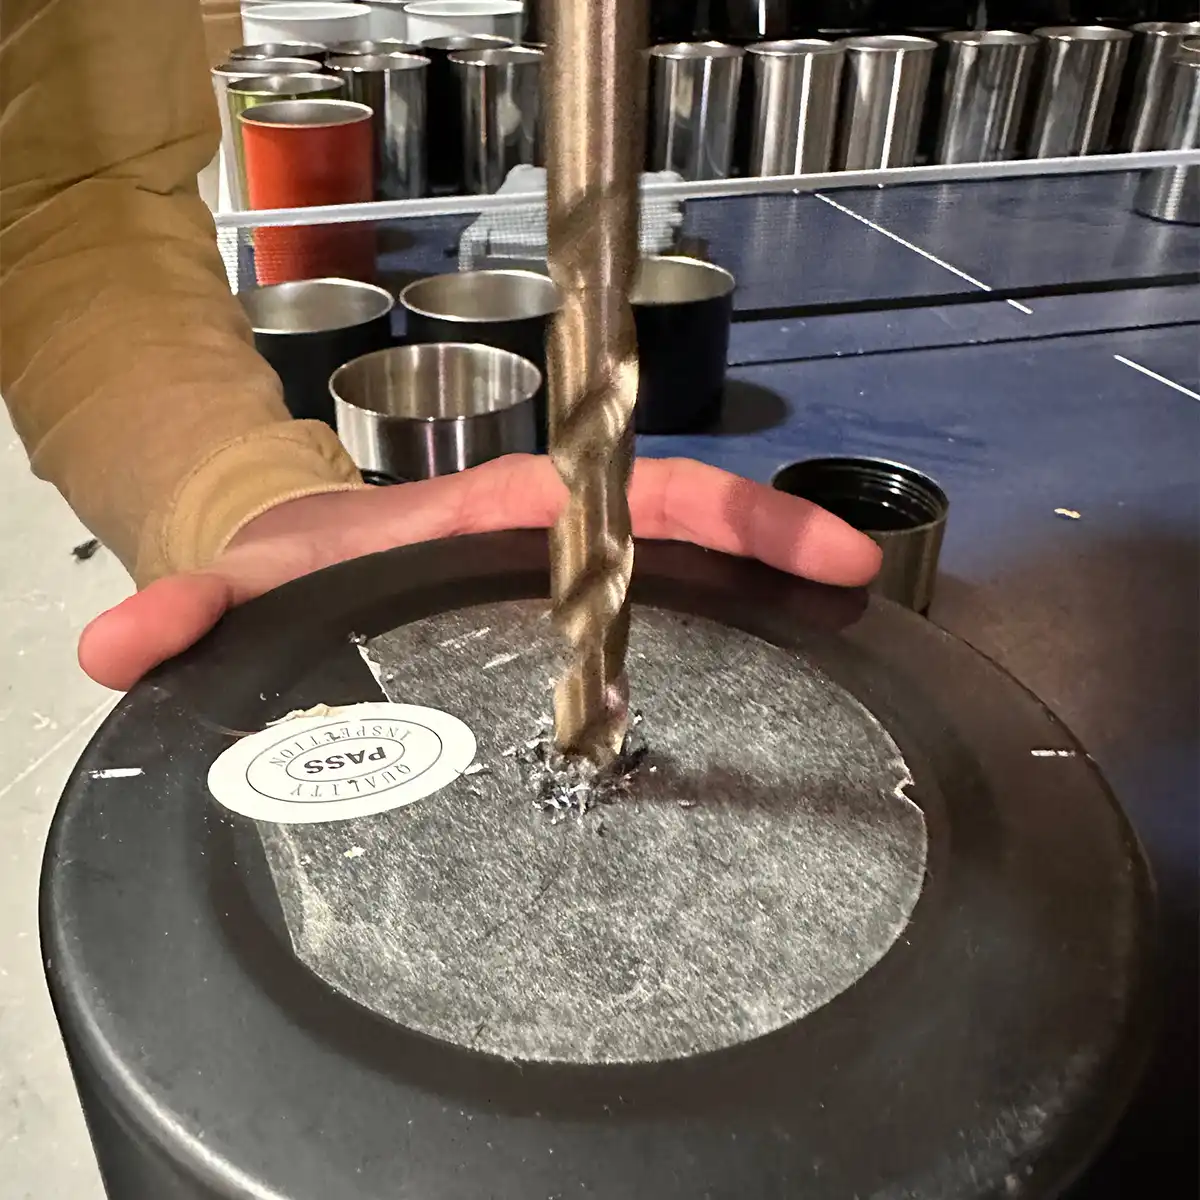
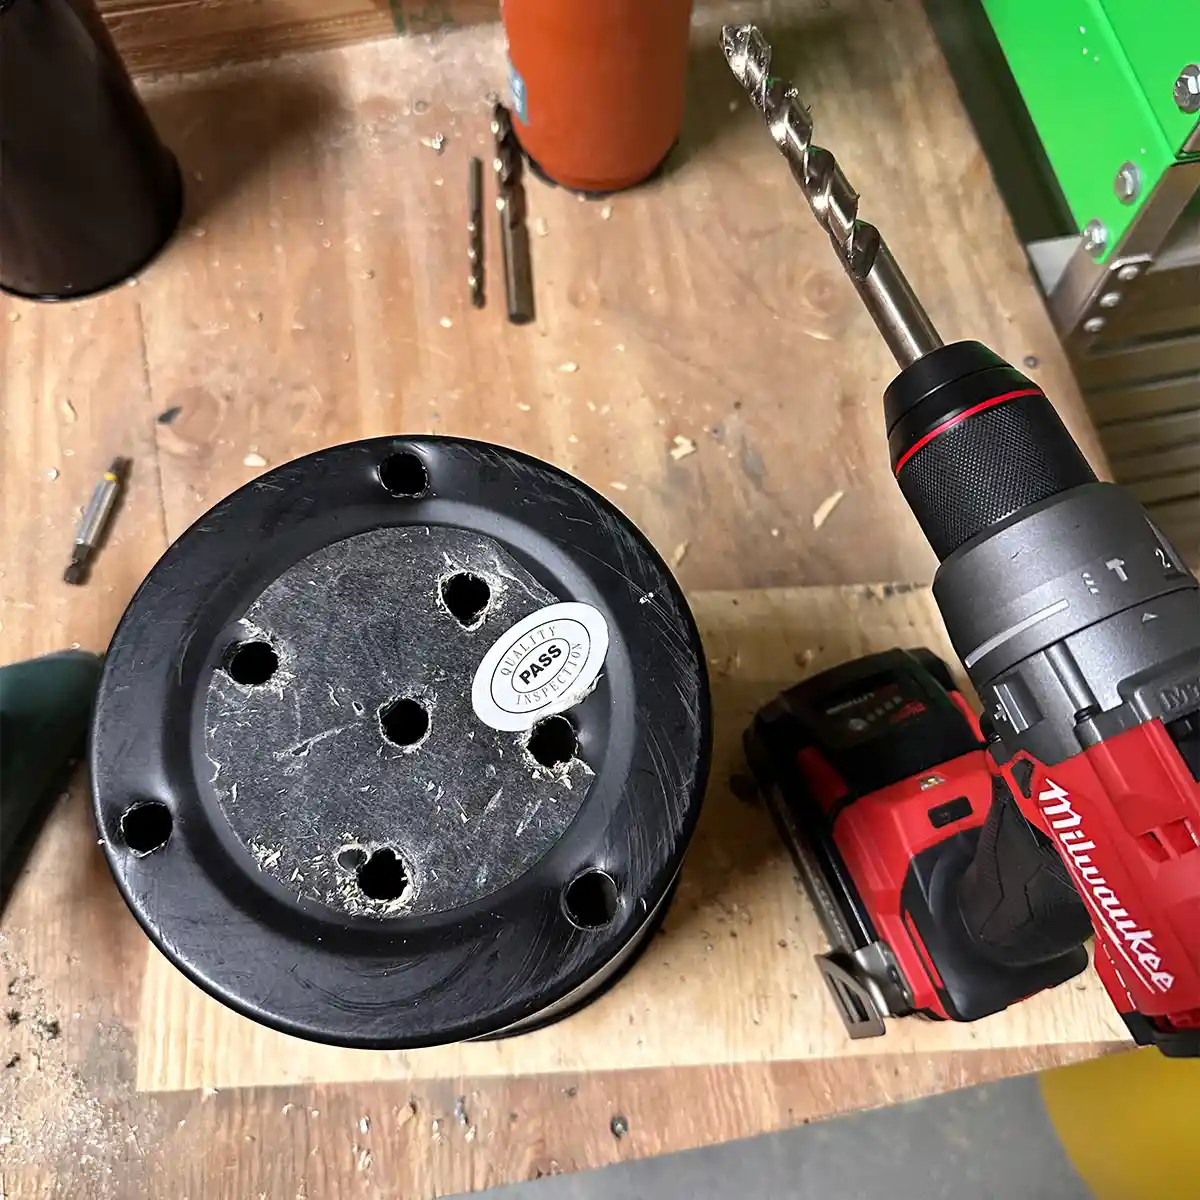
Ensure you are wearing Eye Protection while operating power equipment.
For the filtration holes, I used a ½” cobalt drill. The pictures are of the Airscape® Kilo. In the Kilo, I put 9 holes in the bottom. Even this may have been a little overkill; for the medium Airscape®’s, I would put at most 4 holes. If you’d like to make the holes smaller or larger, go for it! This is your planter!
We tested drilling the holes from the inside and the outside, and unfortunately, there will be residue steel after drilling either way. To Drill: Set the drill to hammer (if available, if not set to a low setting) and keep a medium, steady pace until the hole begins to form. Once the hole forms, it may be hard to hold unto the canister. Make sure to hold it down tightly, and once through the canister, keep the drill going to open the hole completely.
Step 2: Drill Hanging Holes (Optional)
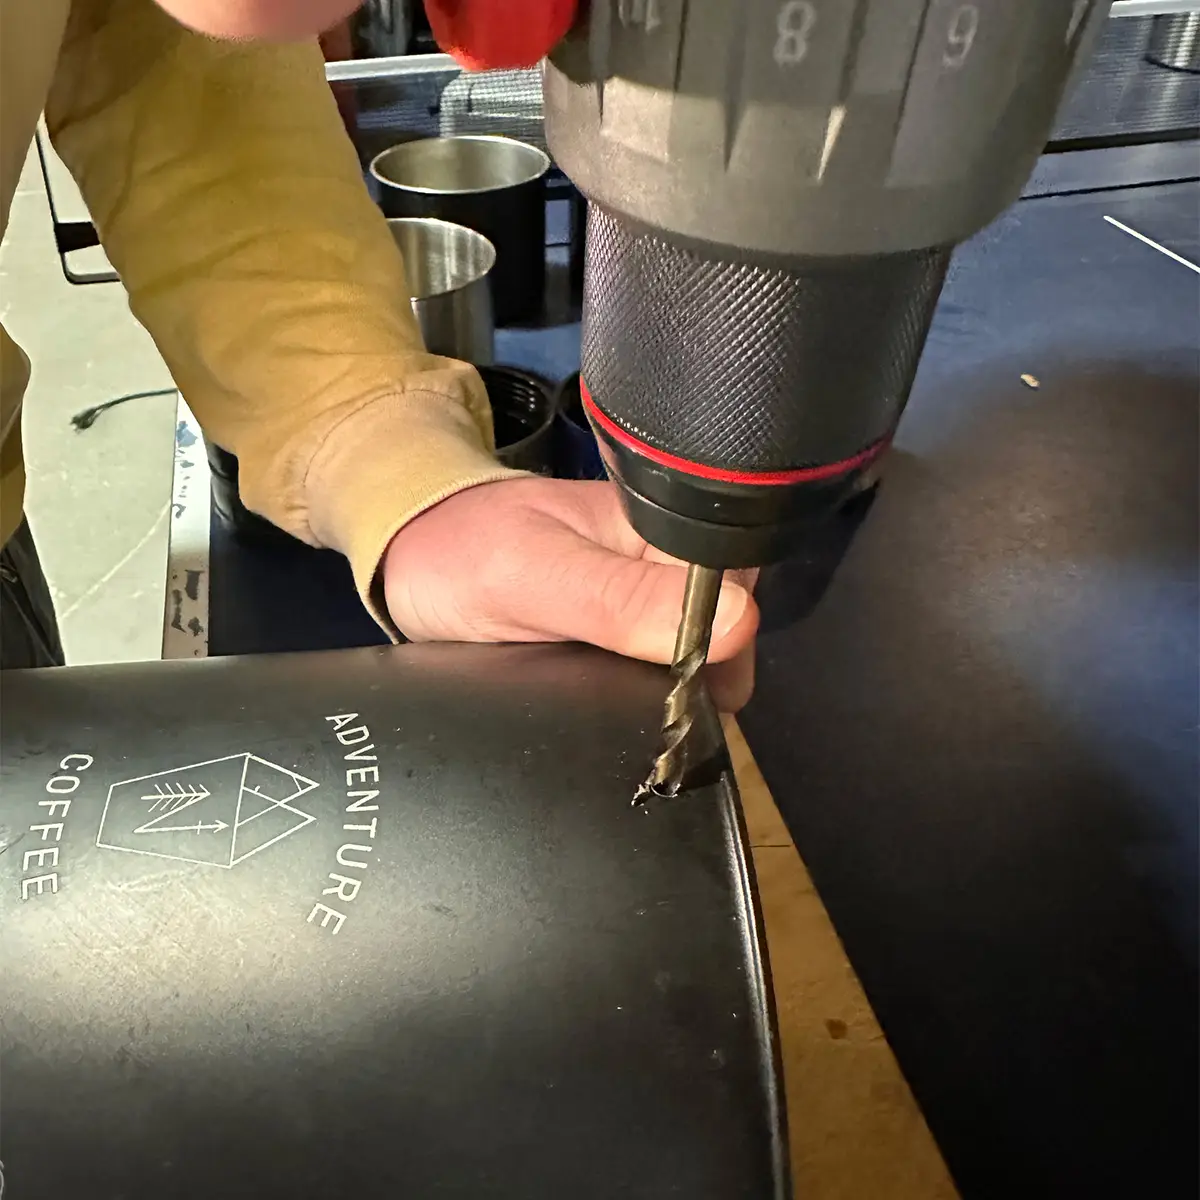
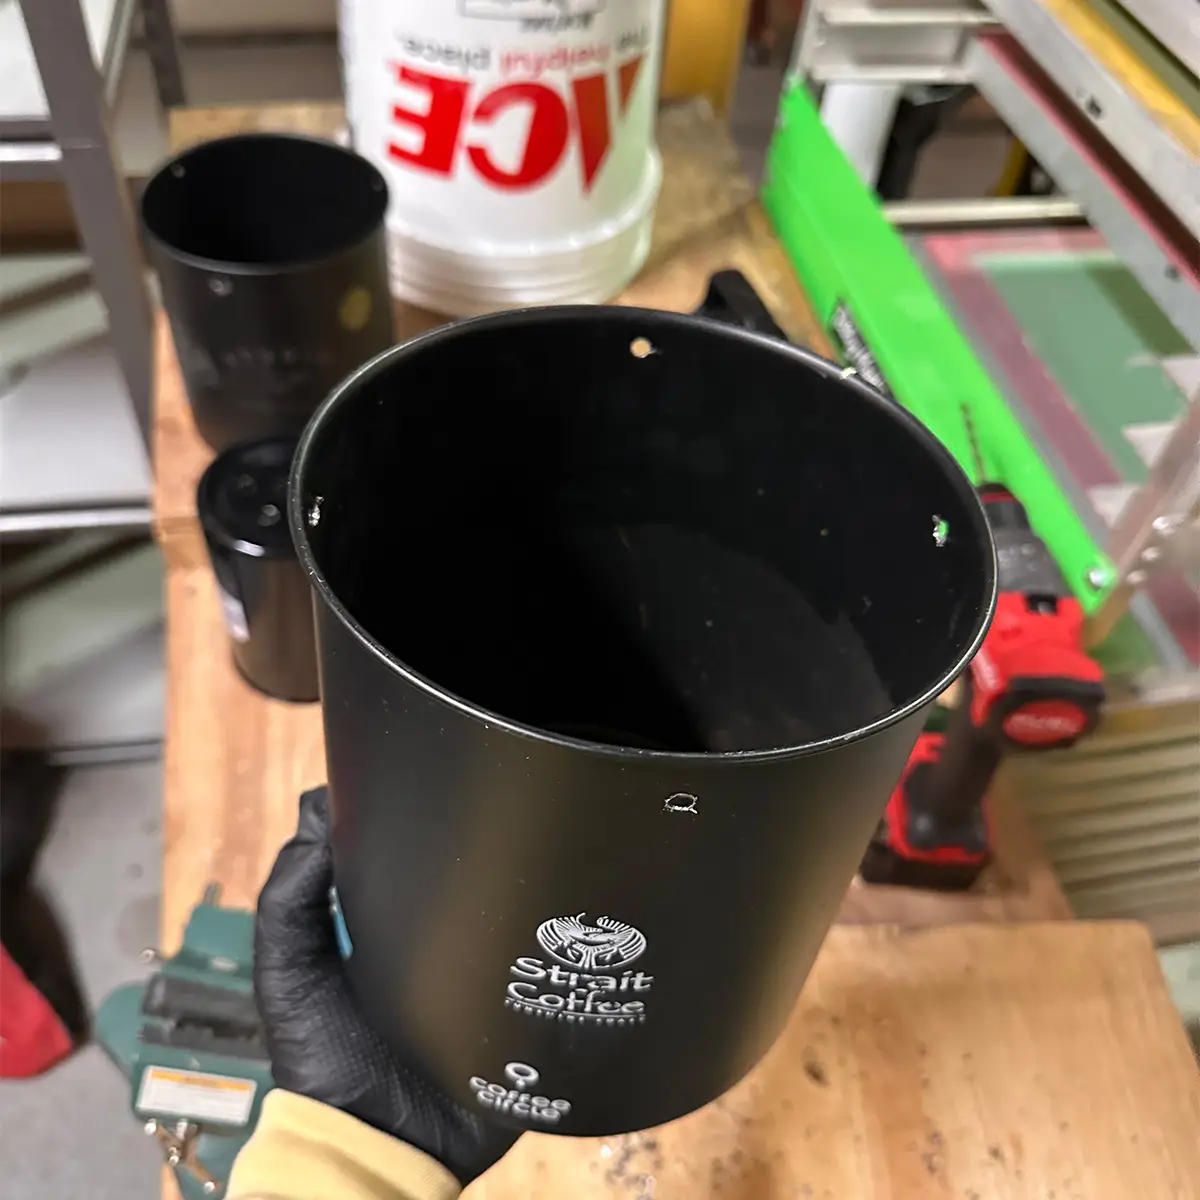
If you want to make a hanging planter, you will need holes on the side of the Upcycled Airscape® Planter. For the hanging holes, I used a 5/16” cobalt drill bit. I put 4 holes in the four corners of the sides of the Airscape®.
Use the same drilling technique you did for the filtration holes for the hanging holes. As you can feel, it will take a little longer to go through the sides because the canister will bend slightly when putting pressure on it. Ensure you still keep a consistent pressure and speed to successfully make the hanging holes.
Step 3: Dremel/Sand Holes
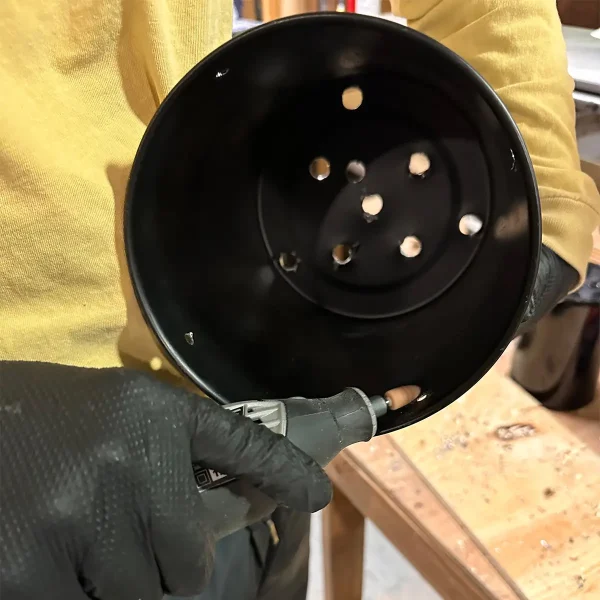
Ensure to wear Gloves while working with exposed steel.
Now time to get rid of those sharp exposed steel pieces left behind after drilling!
The easiest way is to use a Dremel with a steel attachment to quickly remove the pieces. Be careful because the exposed steel pieces are sharp.
Step 4: Time to Plant!
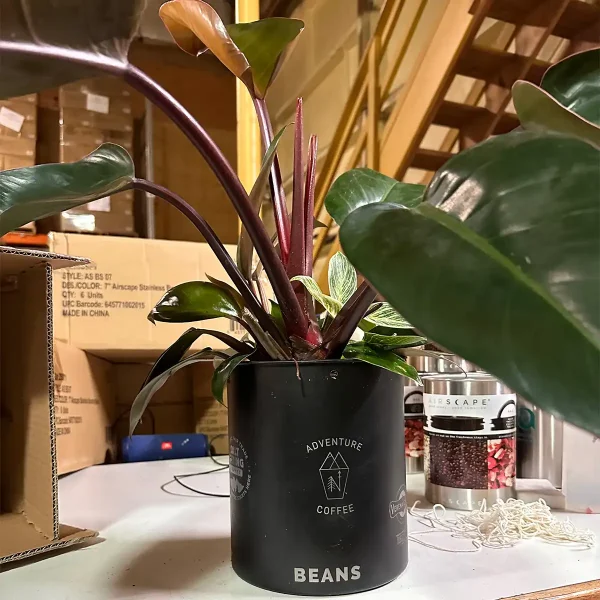
It is time to repot the plant. Read this article for an in-depth article on best practices for repotting a plant.
Make sure to choose the correct soil, aerate the roots and fill the Upcycled Airscape® Planter before planting.
Step 5: Hang the Plant (Optional)
Here is a great guide for how to hang a planter.
Use twine and try to make the twine equal on all four corners for best results.
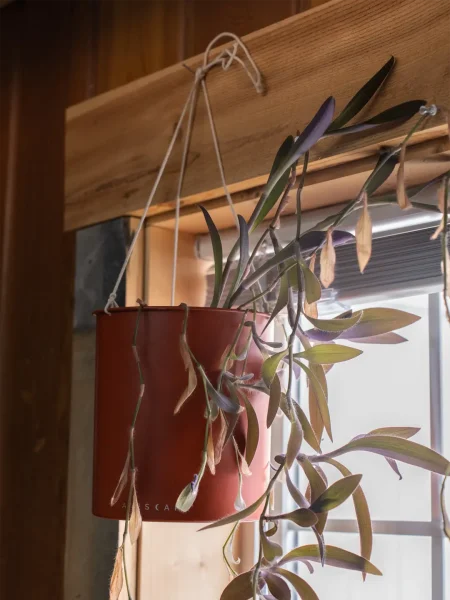
Upcycling is a great solution if you’re looking for a way to breathe new life into your old items while reducing environmental waste. At Planetary Design, we’ve transformed our unusable Airscape® Coffee Canisters into planters and other handy items. Our Upcycle Program is eco-friendly and provides unique and exceptional products for our customers. By repurposing the Airscape® Canister, you can enjoy the convenience of keeping your dry goods fresh, adding a touch of green to your home or office, or even organizing your workspace. It’s also an excellent opportunity to get creative and have fun with DIY projects. With some cleaning, you can transform your Upcycled Airscape® into something new and valuable. Join us in reducing waste and giving new life to old items by participating in our Upcycle Program today!
We want to see how you use your upcycled Airscape®! Tag Us On Instagram @airscapestorage
passions pursued & brewed
Customer Support
Contact Us
Terms Of Use
Gift Cards
Shipping & Returns
Warranty
Sustainability Promise
We are at the confluence of coffee and sustainability. Our products are reusable and eliminate the need for single-use items.
Are Your a Coffee Roaster or Retail Shop?
Learn more about our wholesale pricing & custom printing from our in-house sales staff.
Stay In Touch
Be the first to know about new products, special offers, & more.
By entering my email above, I consent to receiving marketing and other promotional emails and consent to the Privacy Policy. I may opt-out at any time.
© 2024 PLANETARY DESIGN. All rights reserved.
