






- by Madeline Staples
How to Brew Coffee While Camping: 7 Field-Tested Methods
- by Madeline Staples
The best way to brew coffee while camping depends on your pack weight tolerance and desired quality. French press systems deliver rich, full-bodied coffee with minimal gear, pour-over methods offer clean, nuanced flavor at the cost of a few extra ounces, and instant coffee sacrifices taste for convenience when every gram counts on multi-day treks.
This guide is for backpackers, car campers, and weekend warriors who refuse to compromise their morning ritual just because they're off-grid. We've spent 15 years testing brewing methods in Montana's backcountry, and we'll walk you through seven field-proven techniques that actually work when you're miles from the nearest outlet.
You'll learn practical brewing ratios, the real weight-to-quality tradeoffs, and how to protect your coffee's freshness during multi-day trips. We'll cover French press fundamentals, pour-over precision, percolator simplicity, instant options, cold brew prep, and portable espresso systems that have become surprisingly capable in 2026.
Your essential camping coffee setup needs just three components: a heat source, a brewing device, and fresh, properly stored grounds. Everything else is optional.
Most campers already carry a backpacking stove or camp stove for meals, which handles water heating. Your choice of brewing device determines pack weight and flavor quality. A French press adds about eight ounces for car camping, while a pour-over setup weighs under two ounces for backpacking. The often-overlooked critical piece is coffee storage. Grounds exposed to air during a three-day trip lose volatile aromatics that define flavor, which is why we developed the Airscape® valve system. It removes air from the container after each use, preserving freshness when you're days from resupply.
Recent market data shows camping coffee gear is growing steadily. The portable camping coffee maker market reached $250 million in 2025, and analysts project 8% annual growth through 2033, driven by demand for lighter, more durable, and easier-to-clean designs. Manual brewing systems like French press and pour-over remain the largest segment, though compact espresso devices are gaining ground as quality improves.
Bring water to a boil, then let it rest for 30 seconds to reach the optimal brewing range of 93–96°C (200–205°F). Water that's too hot extracts bitter compounds, while cooler water under-extracts and tastes weak.
At elevation, water boils at lower temperatures. Above 5,000 feet, boiling water is already close to ideal brewing temperature, so you can skip the rest period. Below 3,000 feet, the 30-second rest is critical. We've tested this across Montana's elevation ranges, and that half-minute makes the difference between balanced extraction and harsh bitterness.
If you're using a jetboil or an integrated canister stove system, the built-in cozy keeps water hot longer, giving you more time to work. For lightweight alcohol stoves or twig burners, heat only what you need. A standard camp cup holds six ounces, so for two cups, boil 12 ounces plus a bit extra for rinsing your brewer.
Use two tablespoons of coarse-ground coffee per six ounces of water as your starting ratio. One tablespoon equals roughly five to seven grams, so two tablespoons gives you about 12 grams per cup. Adjust from there based on taste.
Coarse grounds work best for French press and percolator methods because they won't slip through the filter. Pour-over brewers need medium grounds, similar to what you'd use at home. If you're grinding before your trip, grind coarse and store in an airtight container. We use Airscape® canisters for pre-ground coffee on longer trips because the valve removes air each time you open it, keeping grounds fresh for the duration.
Instant coffee bypasses measurement entirely. Modern instant options have improved significantly, and some specialty roasters now offer freeze-dried single-origin packets. They're the lightest option at under an ounce per serving, though the flavor doesn't match that of freshly ground coffee.
For cold brew concentrate prepared at home before your trip, use a 1:4 coffee-to-water ratio. Steep coarse grounds in cold water for 12 to 24 hours, then strain and pack the concentrate into a sealed bottle. Dilute one part concentrate with one or two parts water at camp.
French press delivers the richest body and requires the least technique. Add coarse grounds to the press, pour hot water over them, stir once, and let steep for four minutes. Press the plunger slowly and pour immediately. The metal filter allows coffee oils through, creating full-bodied flavor that pour-over methods can't match.
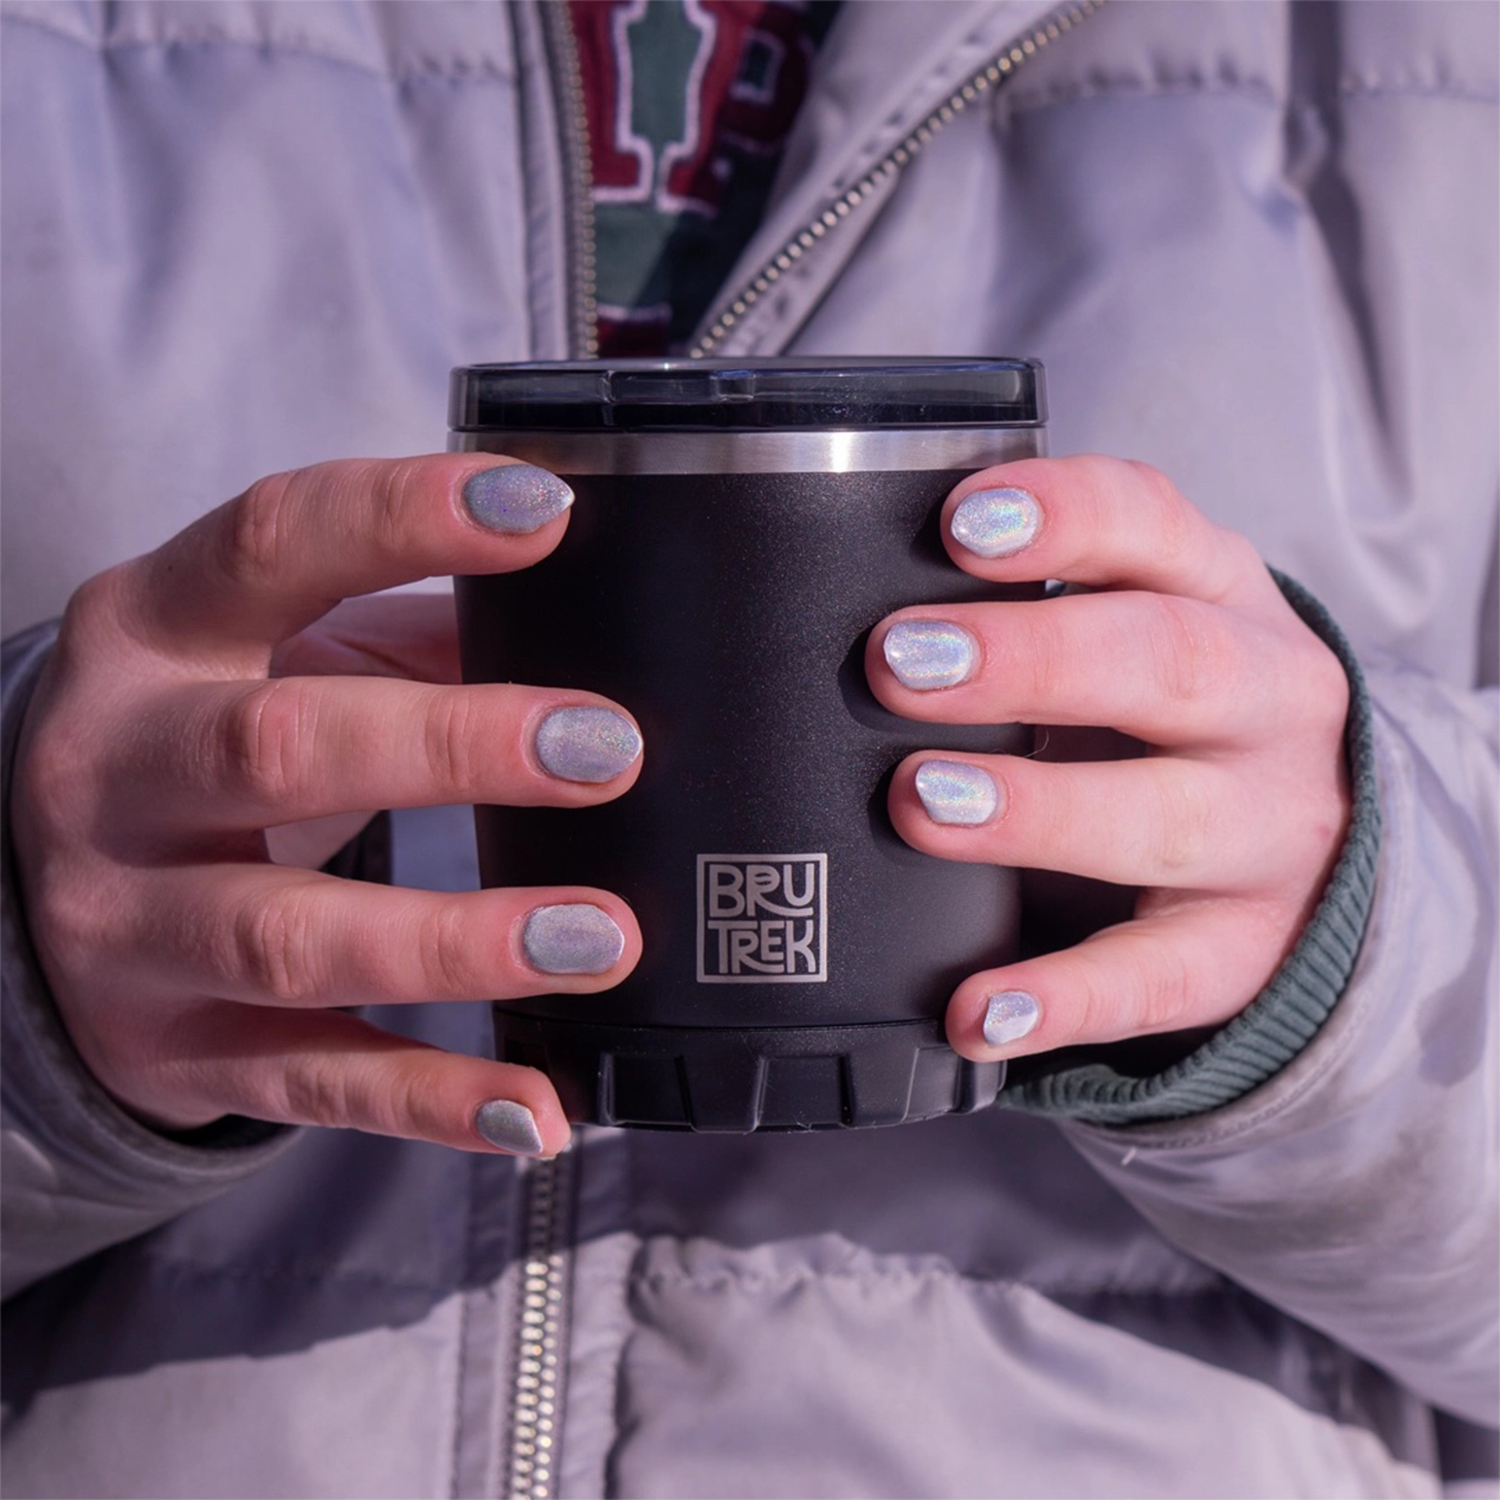
Our BruTrek® French press is built for backcountry durability, with double-wall stainless-steel construction that insulates your brew and withstands drops that would shatter glass. The press mechanism uses a patent-protected seal that prevents grounds from escaping into your cup, even after dozens of trail uses.
Pour-over methods produce cleaner, more nuanced coffee. Place a filter in your dripper, add medium grounds, and pour hot water in a slow, circular motion. Total brew time runs two to three minutes. The ethoz® pour-over system we designed weighs just 1.2 ounces and nests inside most camp mugs, making it ideal for solo backpacking when you want quality without the weight of a press.
Percolators work well for car camping and large groups. Add water to the bottom chamber, grounds to the basket, and set the percolator on your stove. Once it starts to perk, reduce the heat and let it run for six to eight minutes. The recirculating brew process creates strong coffee, though purists argue it over-extracts. For base camp mornings when you're brewing for four people, a percolator is hard to beat.
French press coffee needs exactly four minutes of steep time. Less than that and you'll taste sour under-extraction. After more than five minutes, bitterness dominates. Set a timer or count to 240 if you forgot your watch.
Pour-over timing depends on your dripper size and grind. For a single cup, aim for a total brew time of 2 to 3 minutes from the first pour to the final drip. If water drains too quickly (under 90 seconds), your grind is too coarse. If it takes over four minutes, grind finer next time or use less coffee.
Percolators don't require precise timing, but six to eight minutes of gentle perking produces the best balance. You'll hear the perking slow as extraction completes. Stop before the sound becomes rapid and harsh, which signals over-extraction.
Cold brew concentrate prepared at home steeps for 12 to 24 hours before your trip. At camp, you just add water. No timing required beyond pouring.
Transfer brewed coffee from your French press or pour-over into your cup right away. Coffee left sitting on the grounds continues to extract and turns bitter within minutes.
For a French press, pour out all the coffee, even if you're not drinking it immediately. Leaving it in the press over-extracts the bottom portion. If you're brewing for two, divide it into insulated mugs. The BruTrek® travel mugs we make keep coffee hot for hours without the metallic taste some stainless bottles impart, and the leak-proof lid means you can toss it in your pack for the trail.
Pour-over coffee drips directly into your cup, so timing isn't an issue. Just make sure your cup is pre-warmed by rinsing it with hot water first. A cold ceramic or metal surface will instantly drop your coffee temperature by 10 degrees.
Percolator coffee can sit over low heat for 10 to 15 minutes without noticeably degrading, making it forgiving for group camping when people wake at different times.
Rinse your French press, pour-over, or percolator with hot water immediately after use. Coffee oils turn rancid quickly in the backcountry, and dried grounds cement themselves to filters and mesh screens.
For French press, disassemble the plunger and rinse each component. Grounds stuck in the filter basket will taint tomorrow's brew. If you're in bear country, scatter used grounds at least 200 feet from camp and pack out filters. Don't bury coffee grounds near camp. They attract wildlife.
Pour-over filters can be composted if you're in an area where that's appropriate, or packed out in a sealed bag. The ethoz® brewer rinses clean in seconds because there are no internal chambers where grounds hide.
Percolator baskets need the most attention. Remove the basket and stem, rinse thoroughly, and make sure no grounds remain in the bottom chamber. A percolator with residual grounds will make bitter coffee no matter how fresh your beans are.
Coffee grounds lose flavor within hours of exposure to air, which is a problem on multi-day trips. Most campers stuff a bag of grounds in their pack and wonder why day three tastes stale.
The Airscape® storage system we developed solves this with a two-lid design. The inner lid pushes air out of the container as you press it down onto the coffee, then the outer lid seals everything. Each time you remove the coffee, press the inner lid back down to remove the air that oxidizes aromatics. We've tested this against standard containers on week-long expeditions, and the difference in cup quality by day five is dramatic.
For backpacking, portion your coffee into daily amounts before you leave. Use small resealable bags for each day, or fill an Airscape® canister with enough for your trip. The 32-ounce Airscape® holds about two weeks of coffee for one person brewing 12 grams per day, and the stainless version is nearly indestructible.
If you're car camping, bring whole beans and a hand grinder. Fresh-ground coffee tastes noticeably better, and a manual grinder adds only four ounces to your kit. Grind right before brewing for maximum flavor.
Portable espresso makers have improved dramatically in 2026. Recent testing shows some portable electric models now produce results that rival café quality, and manual lever devices can pull legitimate espresso shots at camp if you're willing to carry the weight.
Spring 2026 data from the National Coffee Data Trends report revealed that espresso consumption in the U.S. rose from 16% to 20%, and latte consumption jumped from 17% to 21%. That growing demand has pushed manufacturers to develop better portable systems. Manual espresso makers like lever-operated devices require no electricity and weigh around one pound, but they demand precise technique and strong arms to generate the nine bars of pressure needed for true espresso.
Battery-powered portable espresso machines are heavier (two to three pounds) and require charged batteries, making them impractical for backpacking but viable for car camping or van life. They're convenient, but most produce something closer to strong coffee than genuine espresso because they can't maintain consistent pressure and temperature.
For most camping scenarios, a well-made French press or pour-over delivers better coffee with far less hassle and weight. Save the espresso ambitions for base camp or car camping where the extra gear won't slow you down.
Prepare cold brew concentrate at home before your trip by steeping coarse grounds in cold water for 12 to 24 hours. Use a ratio of one part coffee to four parts water. Strain the concentrate through a fine filter or cheesecloth, then store it in a sealed bottle.
At camp, dilute the concentrate with one or two parts cold water, depending on your strength preference. You can also add hot water to a mug for a warm drink without brewing fresh coffee. Cold brew concentrate stays fresh for up to two weeks when refrigerated, and about five days in a cool, sealed container at camp.
The advantage is convenience. You skip the morning brew process entirely and just pour and dilute. The downside is weight. Liquid concentrate is heavy, and you're carrying water weight you could source at camp. For short trips or car camping, cold brew is a solid option. For backpacking, the weight penalty usually isn't worth it unless you're in an area where boiling water is difficult.
Cold brew is also the fastest-growing segment in the cold coffee market, with analysts forecasting over 22% annual growth. That trend is influencing camping behavior as more people look for portable cold coffee options.
A pour-over setup is the lightest option at under two ounces total weight. The ethoz® pour-over brewer weighs 1.2 ounces, and paper filters add negligible weight. Instant coffee is even lighter, but it sacrifices flavor. For backpacking where every ounce matters, pour-over delivers the best quality-to-weight ratio.
Yes. Cowboy coffee works by boiling the grounds directly in water, then letting them settle before carefully pouring. Add two tablespoons of coarse grounds per six ounces of water to your pot, bring to a boil, remove from the heat, and wait three minutes for the grounds to settle. Pour slowly, leaving the bottom inch of liquid and settled grounds in the pot. It's gritty, but it works when you forgot your filter.
Use an airtight container with a valve system that removes air after each use. The Airscape® design pushes air out as you press the inner lid down onto the coffee, preventing oxidation that degrades flavor. Standard sealed containers trap air inside with the coffee, which is better than nothing but not ideal for trips longer than three days.
Coarse grounds work best for French press and percolator methods because they won't slip through the filter. Medium grounds suit pour-over brewers. If you're bringing pre-ground coffee, grind coarse as a safe default. You can always adjust steeping time to compensate, but you can't fix grounds that are too fine and clog your filter.
Instant coffee makes sense for ultralight backpacking or emergency backup, but quality has limits. Modern freeze-dried options from specialty roasters taste better than the instant coffee of five years ago, but they still can't match fresh-ground brewing. If you're counting every gram and can tolerate the compromise, instant works. For most campers, the two ounces saved isn't worth the flavor loss.
Quality coffee at camp comes down to three things: proper water temperature, correct coffee-to-water ratio, and protecting your grounds from air exposure. French press delivers rich body with minimal technique, pour-over offers clean flavor at ultralight weight, and percolators handle group brewing without fuss. The method matters less than executing the basics correctly.
The gear that actually improves your camp coffee is simple. A reliable brewer, a heat source you already carry, and airtight storage that preserves freshness beyond day two. We've spent 15 years refining those fundamentals in Montana's backcountry, which is why the BruTrek® and Airscape® systems we build focus on durability and freshness instead of gimmicks. Your purchase supports our Conservation Alliance partnership and Boundary Waters protection work, connecting your morning ritual to the wild places where you brew it. Check out our camping coffee gear and taste the difference proper storage and field-tested design make on your next trip.
How Many Scoops of Coffee Per Cup? A Measuring Guide for Every Brewer

What Is Argon Gas Used For? How It Keeps Coffee, Wine and Pantry Goods Fresh
Can You Store Coffee and Cannabis Together? A Side-by-Side Storage Guide
Caffeine and Cannabis: What the Research Actually Says
How to Store Pre-Rolls So They Don't Dry Out
Share:
How Long Does Coffee Stay Fresh? Storage Tips for Peak Flavor
How to Keep Drinks Cold While Camping: 7 Proven Methods