






- by Madeline Staples
How to Keep Drinks Cold While Camping: 7 Proven Methods
- by Madeline Staples
The most effective way to keep drinks cold while camping is to pre-chill your cooler and beverages before packing, use a 2:1 ice-to-contents ratio with block ice or frozen bottles, pack tightly to minimize air space, and keep your cooler in shade while limiting how often you open it. This combination of strategies can extend cold retention from one day to nearly a week, depending on your gear.
This guide is for weekend warriors, backcountry campers, and anyone tired of lukewarm drinks by day two. We're sharing what actually works based on 2026 gear testing and 15+ years of Montana outdoor experience.
You'll learn how to maximize ice retention through smart packing, which cooling methods deliver the best results for different trip lengths, and how to choose gear that won't let you down when you're miles from the nearest store.
Your ice melts quickly because heat transfers into your cooler through three main pathways: direct sunlight heating the exterior, warm air entering each time you open the lid, and thermal conduction through the cooler walls.
Most campers lose cold drinks not because their cooler is poorly insulated, but because they skip pre-chilling, pack loosely with too much air space, or leave their cooler sitting in direct sun. Recent 2026 gear testing shows that packing strategy and placement matter more than ice quantity alone for extending cold retention.
Air is a terrible insulator when it's moving. Every time you open your cooler, cold air spills out, and warm air rushes in. That's why limiting access and keeping your cooler closed makes such a measurable difference.
Pre-chilling your cooler the night before your trip can add an entire day to your ice retention. Fill your cooler with ice or frozen bottles 12 to 24 hours before packing, then drain the melt water right before loading your actual camping supplies.
This step eliminates thermal shock. When you load warm drinks into a warm cooler, your ice immediately starts working to cool down the container and contents instead of just maintaining cold temperatures. Expert guides in 2026 consistently rank pre-chilling among the top three factors for maximizing ice life.
Pre-chill your drinks too. Room-temperature beverages absorb a large amount of thermal energy as they cool. If you're bringing canned drinks, store them in your refrigerator for at least 24 hours before packing. For bottles, freeze what you can; frozen water bottles double as ice blocks and give you cold water as they thaw.
Block ice melts significantly slower than crushed ice because it has less surface area exposed to warm air. A single large block might last three to four days, while the same weight of crushed ice could melt in 24 hours.
You can make your own block ice by freezing water in clean milk jugs or food-grade containers. Leave about an inch of space at the top for expansion. These homemade blocks work just as well as store-bought options and cost nothing.
Frozen water bottles offer a practical middle ground. They're dense enough to melt slowly, fit into odd spaces in your cooler, and produce drinking water as they thaw. Pack a mix of block ice on the bottom and frozen bottles around your drinks for the best results.
Aim for roughly two parts ice to one part contents by volume; that's about 66% ice and cooling agents. This ratio appears repeatedly in 2026 outdoor gear testing as the sweet spot for extended cold retention.
Pack your cooler tightly to minimize air gaps. Air space allows warm air to circulate, accelerating melting. Fill empty spaces with frozen bottles, ice packs, or even frozen food items you plan to eat later in your trip.
Load your cooler in layers. Put block ice or frozen bottles on the bottom since cold air sinks. Place items you'll need first on top so you're not digging through everything every time you want a drink. Consider packing a separate small cooler for frequently accessed items if you're camping for more than two days.
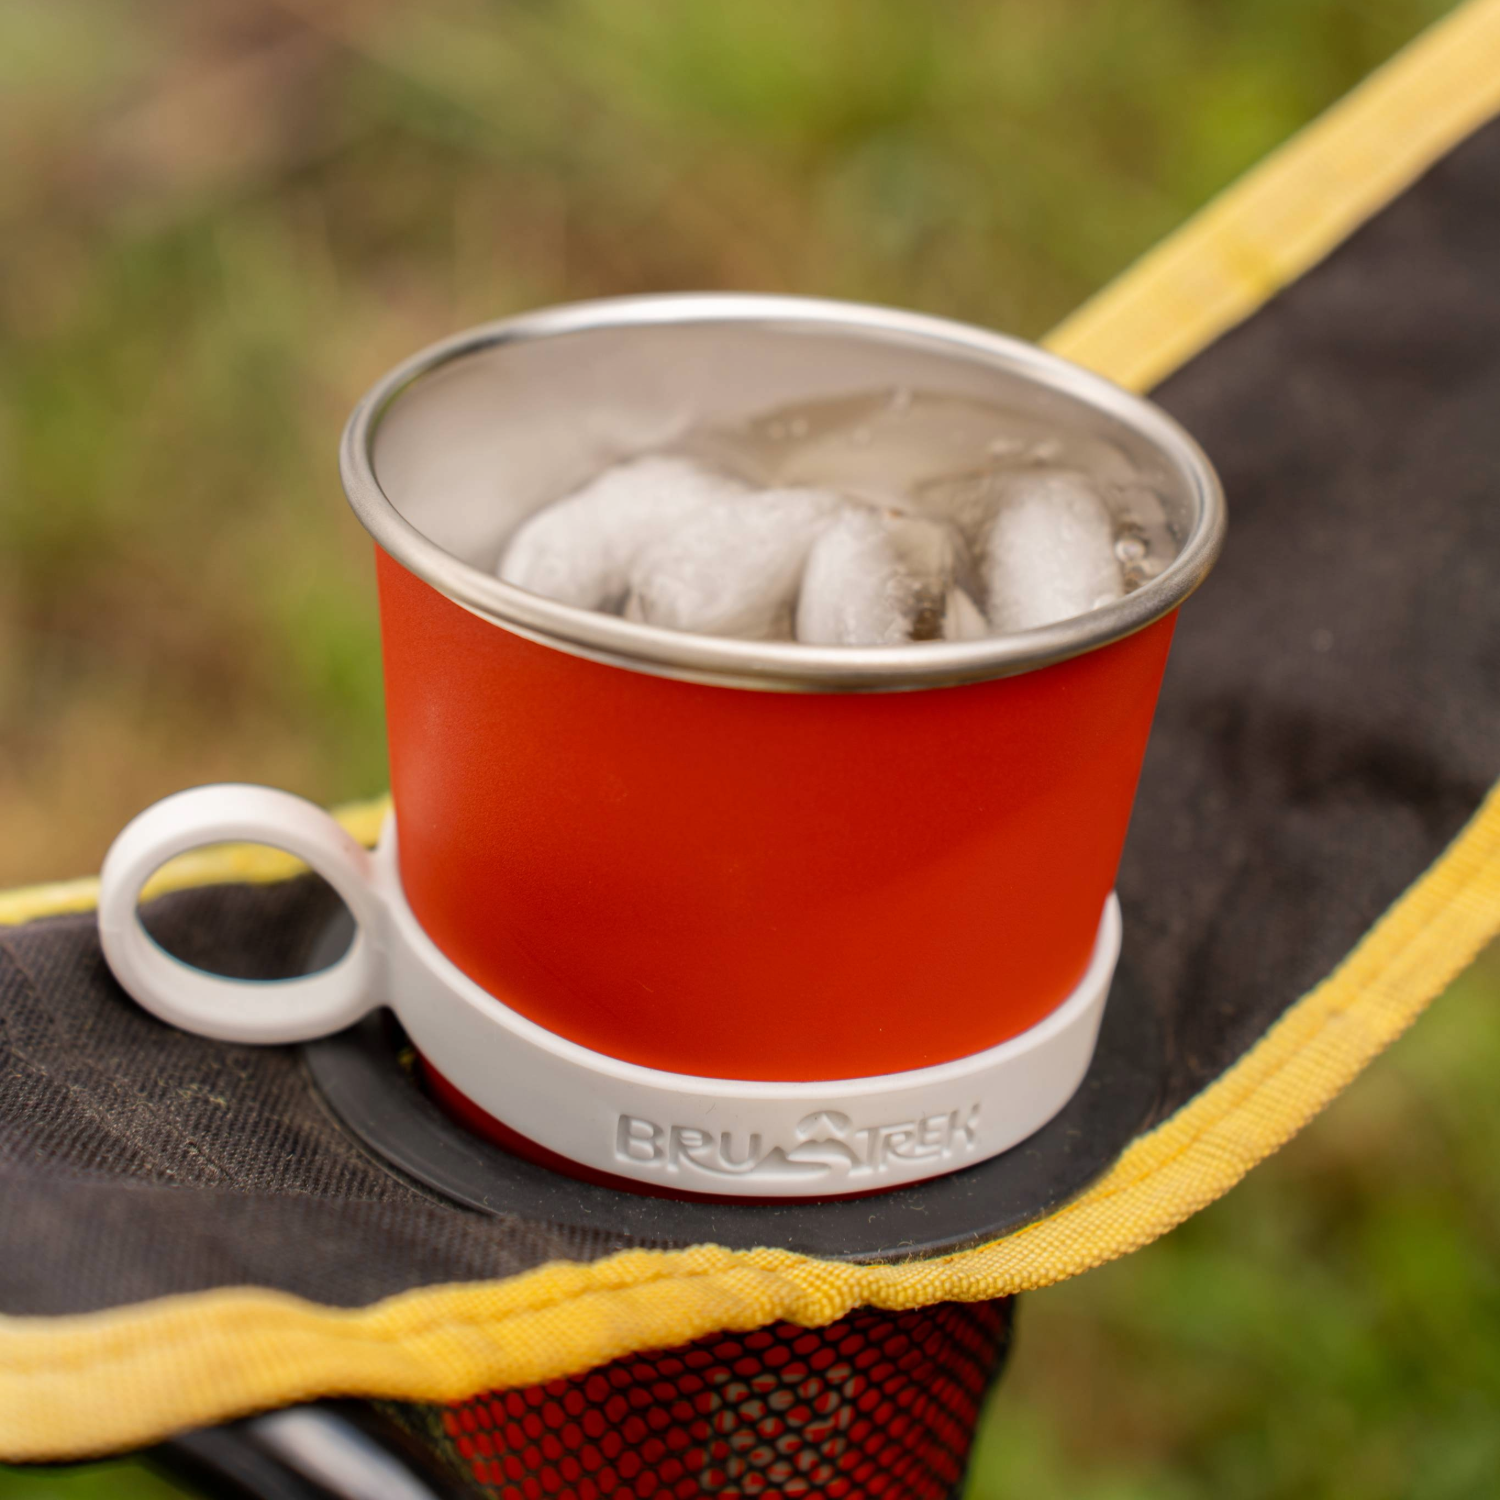
At Planetary Design, we see campers struggle with this constantly; they pack gear for brewing great coffee outdoors but forget that keeping water cold matters just as much as keeping it clean. Our BruTrek® insulated drinkware keeps drinks cold for hours after you pour, so you're not constantly opening your main cooler for cold refills.
Direct sunlight is your ice's worst enemy. A cooler sitting in full sun can lose 30% to 40% more ice per day than one kept in the shade. Park your cooler under a tree, tuck it under your vehicle, or drape a light-colored tarp or blanket over the top.
Light colors reflect heat better than dark colors. If you're covering your cooler, use white or tan fabric rather than black or dark blue. Even a simple reflective emergency blanket can help if you're in exposed terrain.
Elevation matters too. Keep your cooler off hot ground by placing it on a piece of foam, a wooden pallet, or even a folded tarp. Ground heat conducts through the bottom of your cooler faster than you'd expect, especially on sunny days when soil temperatures climb.
Every time you open your cooler lid, you lose cold air and gain warm air. Outdoor Gear Lab's 2026 testing showed that coolers opened frequently throughout the day lost ice measurably faster than identical models opened just twice daily.
Plan your cooler access. Grab everything you need for the next few hours in one opening rather than making multiple trips. If you're camping with a group, designate one person as the "cooler keeper" to reduce unnecessary openings.
Open your cooler quickly and close it immediately. Don't stand there with the lid propped open while you decide what you want. Know what you're grabbing before you lift that lid.
Cold water actually helps keep remaining ice frozen, so don't drain your cooler too early. As long as your items are submerged in ice-cold water, they're staying cold. The water acts as a thermal buffer.
Drain only when water levels rise high enough to soak items that shouldn't get wet, or when you need to repack. If you're adding fresh ice mid-trip, drain first to make room and prevent your new ice from melting instantly in warm water.
Use the drain plug if your cooler has one. Tipping a full cooler to pour out water means tilting all your carefully packed contents and introducing warm air throughout the entire interior.
Hard-sided coolers with thick insulation excel at multi-day trips. Premium models tested in 2026, such as the Yeti Roadie 48, stayed below 40°F for 6.7 days, setting the benchmark for long-duration ice retention. You're paying for wall thickness and seal quality.
Soft coolers and backpack coolers work well for day trips or overnight camping when portability matters more than maximum ice life. Current 2026 models hold drinks cold for at least 24 hours when packed properly, and they're far easier to carry into remote campsites.
For extended backcountry trips where weight is critical, consider insulated drinkware instead of hauling a cooler. Fill insulated bottles with ice and cold water at camp, and they'll keep your drinks cold for six to 12 hours without the bulk of a cooler. Our BruTrek® line is built specifically for this, with double-wall vacuum insulation that performs in genuine backcountry conditions, not just Instagram photos.
Electric coolers and portable fridges are options when you have vehicle power available, but they're overkill for most camping scenarios, and they tie you to your vehicle or a power source.
Reusable ice packs stay colder longer than water ice because they're formulated to freeze at lower temperatures. They also don't create melt water, which keeps your food and gear dry. The downside is that they take up space you can't reclaim as they thaw, unlike frozen water bottles, which become drinking water.
For maximum cold retention, use a combination. Pack reusable ice packs on the bottom and sides where they won't be moved, then fill the remaining space with block ice or frozen bottles. This gives you both long-lasting cold and usable water as things thaw.
Freeze your ice packs completely solid before packing. A partially frozen ice pack is just dead weight; it'll absorb cold from your actual ice rather than contributing to cooling.
If you're hiking light or traveling without a cooler, insulated drinkware becomes your primary cooling tool. Fill insulated bottles with ice and cold water before you leave camp. Quality vacuum-insulated bottles keep contents cold for 12 to 24 hours depending on conditions.
Bury drinks in a stream or lake if you're camping near water. Submerge bottles in the current and anchor them with rocks. Moving water pulls heat away faster than still air. Just make sure you secure everything; losing your drinks downstream is frustrating.
Wrap drinks in wet fabric and place them in shade where there's airflow. Evaporative cooling works surprisingly well in dry climates. As water evaporates from the fabric, it pulls heat away from your drink. This won't keep things ice-cold, but it'll keep them cooler than ambient temperature.
We've spent years refining our BruTrek® drinkware for exactly these scenarios, when you need reliable temperature retention without hauling a full cooler. Double-wall vacuum insulation, durable construction that survives being dropped on rocks, and a design that actually fits in a backpack side pocket.
Yes, but the difference is modest. Light-colored coolers reflect more solar radiation than dark colors, which can reduce ice melt by 10% to 15% in direct sun. White, tan, and light gray perform best.
That said, keeping any cooler in shade matters far more than cooler color. A black cooler in full shade will outperform a white cooler in direct sun every time. Focus on placement first, color second.
If you're buying a new cooler and you often camp in exposed areas, choose lighter colors. If you already own a dark cooler, just be more diligent about keeping it in the shade.
Ice duration depends on cooler quality, packing method, and conditions. Budget coolers might hold ice for one to two days. Mid-range insulated coolers typically last three to four days. Premium hard coolers with thick walls can maintain ice for five to seven days when packed properly and kept in shade. The 2:1 ice ratio and pre-chilling are critical regardless of cooler type.
Keep the cold water in your cooler as long as it's not soaking items that need to stay dry. Ice-cold water helps keep remaining ice frozen and maintains low temperatures for submerged items. Drain only when water levels get too high or when you're adding fresh ice and need space.
Dry ice works for camping but requires careful handling. It stays colder than regular ice and doesn't melt into water, but it sublimates into carbon dioxide gas, which can be dangerous in enclosed spaces. Never store a dry ice cooler inside your tent or vehicle cabin. Use insulated gloves when handling it. For most camping trips, regular block ice is simpler and safer.
Layer block ice or frozen bottles on the bottom, place your drinks on top of the ice, then fill gaps with additional ice packs or frozen bottles. Pack tightly to minimize air space. Put items you'll need first on top, so you're not digging through everything. Consider organizing drinks by type or day if you're camping for multiple days.
Keeping ice for a full week requires a premium hard cooler with thick insulation, aggressive pre-chilling, a 2:1 ice ratio using block ice, tight packing with minimal air gaps, consistent shade placement, and strict limits on how often you open the lid. Add fresh ice mid-trip if possible. Recent testing shows models like the Yeti Roadie 48 can maintain temperatures below 40°F for 6.7 days under controlled conditions.
Keeping drinks cold while camping comes down to five core strategies: pre-chill everything, use dense ice, pack tightly, stay in shade, and limit cooler access. These methods work whether you're using a premium hard cooler or a basic soft-sided model.
The difference between lukewarm drinks on day two and ice-cold refreshment on day five is rarely the gear itself; it's how you use it. Pack smart, plan your cooler openings, and respect the physics of heat transfer.
For backcountry trips where every ounce counts, consider whether you need a cooler at all. Quality insulated drinkware can keep your water and coffee cold for hours without the weight. Our BruTrek® gear is built for exactly that: real outdoor performance when you're miles from anywhere, backed by the same obsessive attention to temperature retention we bring to our Airscape® coffee storage. Explore our adventure-ready drinkware and see what 15+ years of Montana engineering looks like in practice.
How Many Scoops of Coffee Per Cup? A Measuring Guide for Every Brewer

What Is Argon Gas Used For? How It Keeps Coffee, Wine and Pantry Goods Fresh
Can You Store Coffee and Cannabis Together? A Side-by-Side Storage Guide
Caffeine and Cannabis: What the Research Actually Says
How to Store Pre-Rolls So They Don't Dry Out
Share:
How to Brew Coffee While Camping: 7 Field-Tested Methods
Best Camping Coffee Setup: Gear for Every Adventure